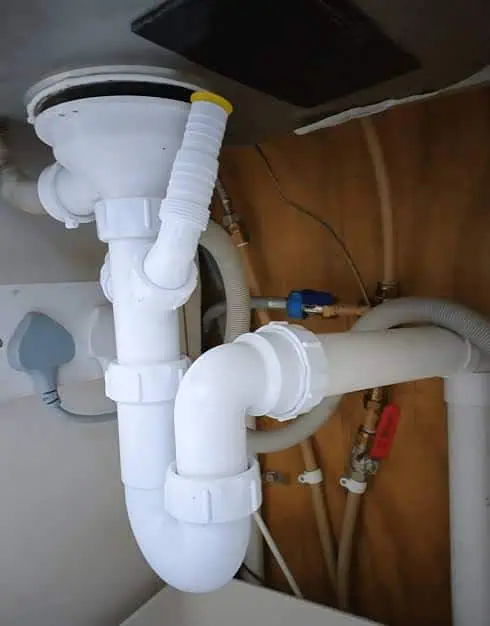
 01
Plumbing
Leak under a kitchen sink
Checked the waste and water connections to identify the source of the leak and address the affected fitting.

Every property has its own challenges. Browse examples of the plumbing, drainage, heating and property issues our team can help investigate and repair.
01Checked the waste and water connections to identify the source of the leak and address the affected fitting.
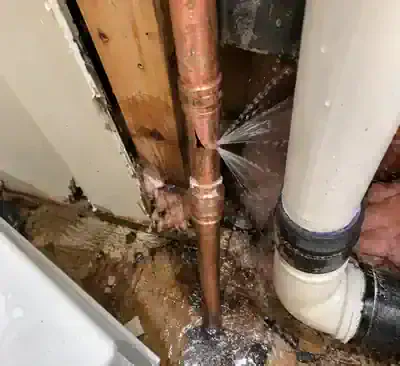 02
Isolated the affected supply and assessed the damaged section of pipe before carrying out the repair.
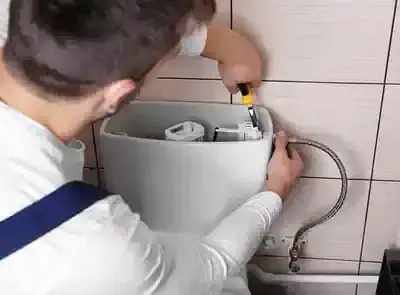 03
Inspected the cistern mechanism to find the cause of the flushing fault and determine the parts needed.
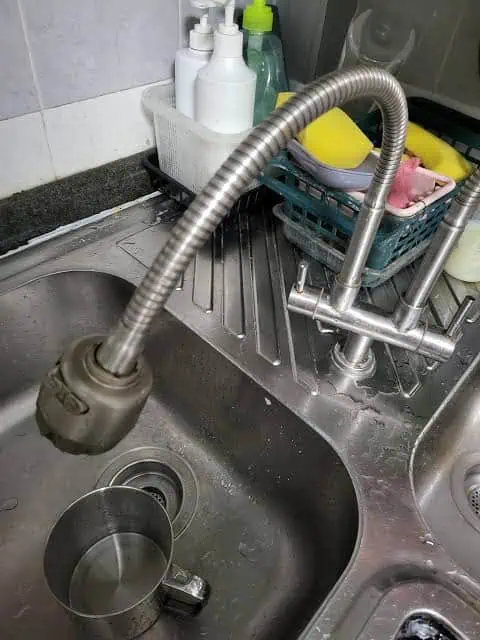 04
Checked the tap and connections, then replaced the faulty fitting where repair was not the practical option.
 05
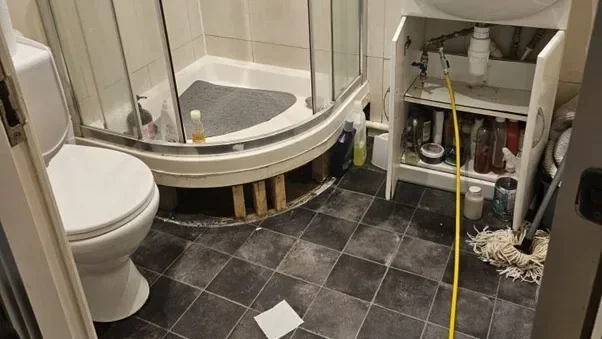
Inspected the shower fittings and accessible connections to trace where water was escaping.
 06
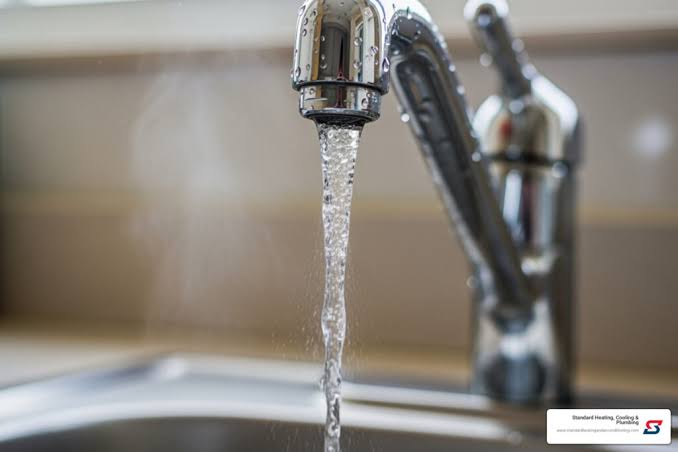
Checked the affected outlets and accessible supply pipework to narrow down the cause of reduced flow.
 07
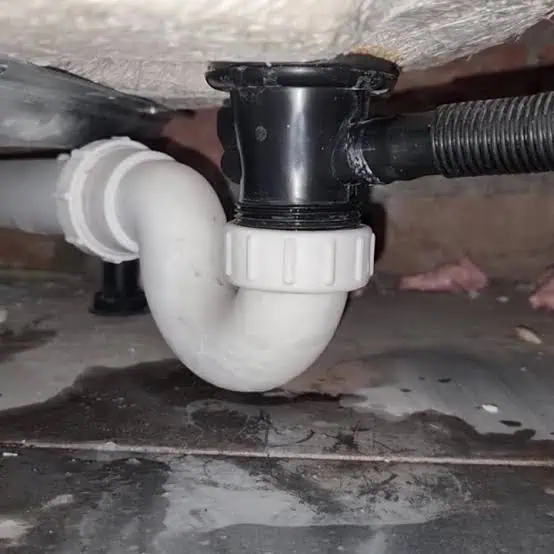
Examined the waste trap and joints beneath the bath and repaired or renewed the affected connection.
 08
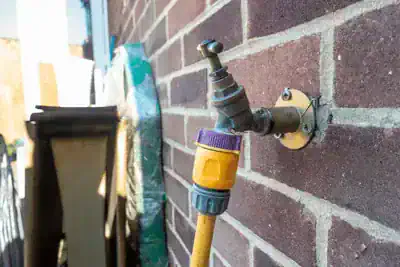
Checked the outside tap and supply connection for leaks, wear or damage affecting its operation.
 09
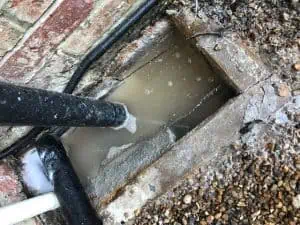
Inspected the drainage access point and worked to identify and clear the obstruction affecting flow.
 10
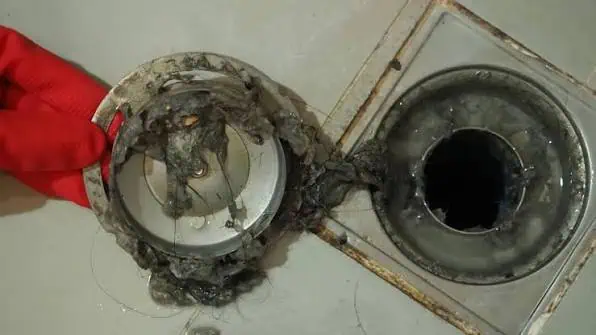
Checked the shower waste for trapped hair, soap residue or other build-up restricting drainage.
 11
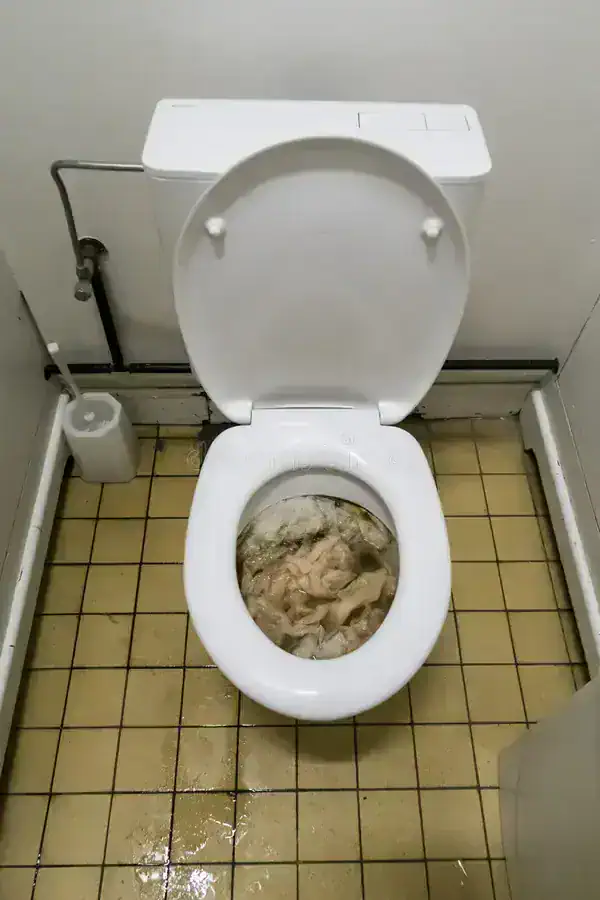
Assessed the blockage and used a suitable method to restore the toilet's drainage without unnecessary damage.
 12
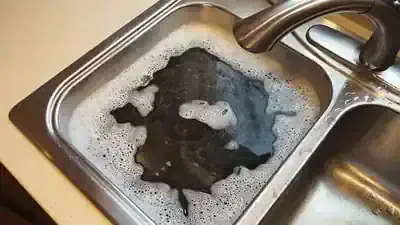
Investigated the sink waste and trap for grease or debris causing water to back up.
 13
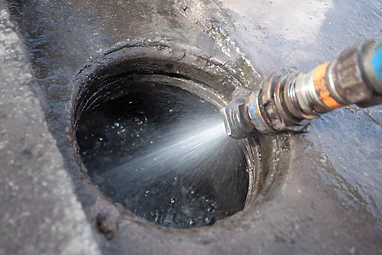
Used suitable high-pressure water jetting equipment to tackle a stubborn build-up in the drain.
 14
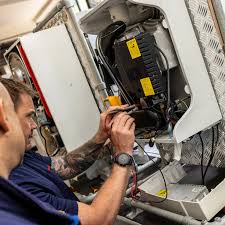
Checked the reported boiler fault and assessed the likely cause before discussing the appropriate next steps.
 15
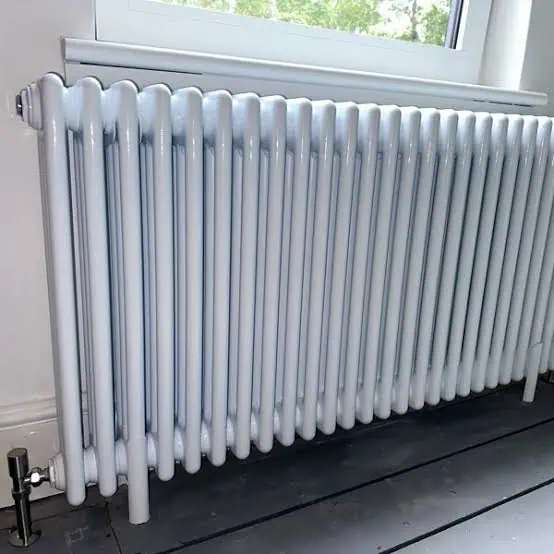
Checked the radiator and heating circuit for common causes of cold spots or uneven heat distribution.
 16
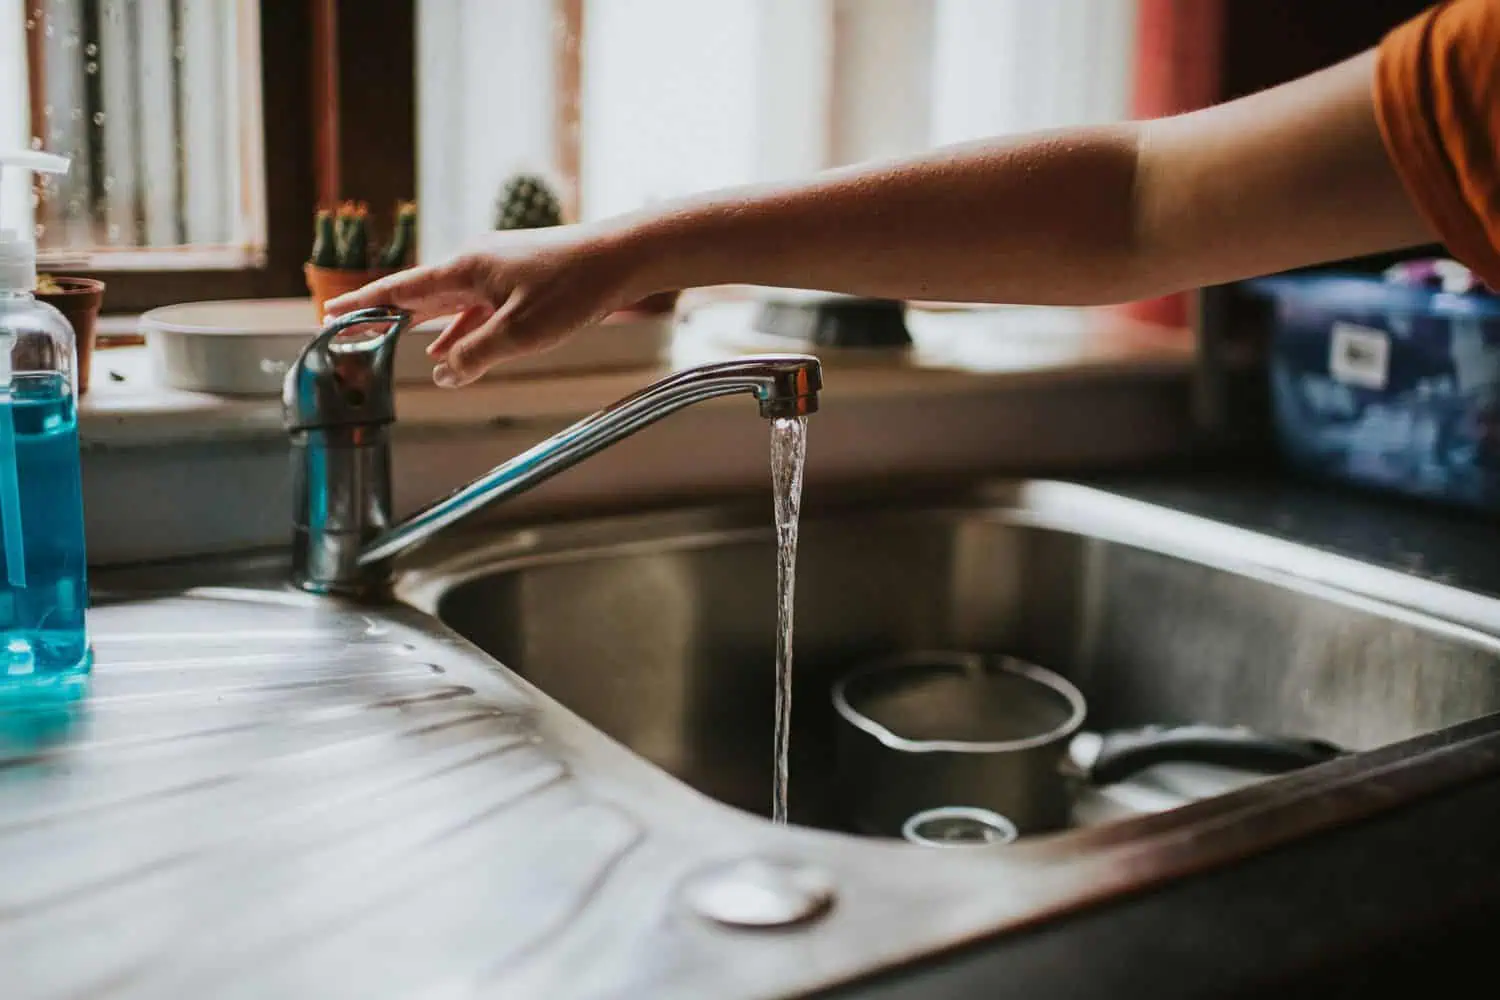
Investigated the hot-water complaint and checked the relevant accessible controls and system components.
 17
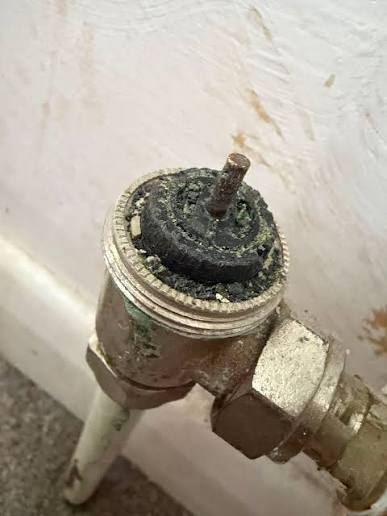
Inspected the radiator valve and connection for sticking, leaks or problems regulating the heat.
 18
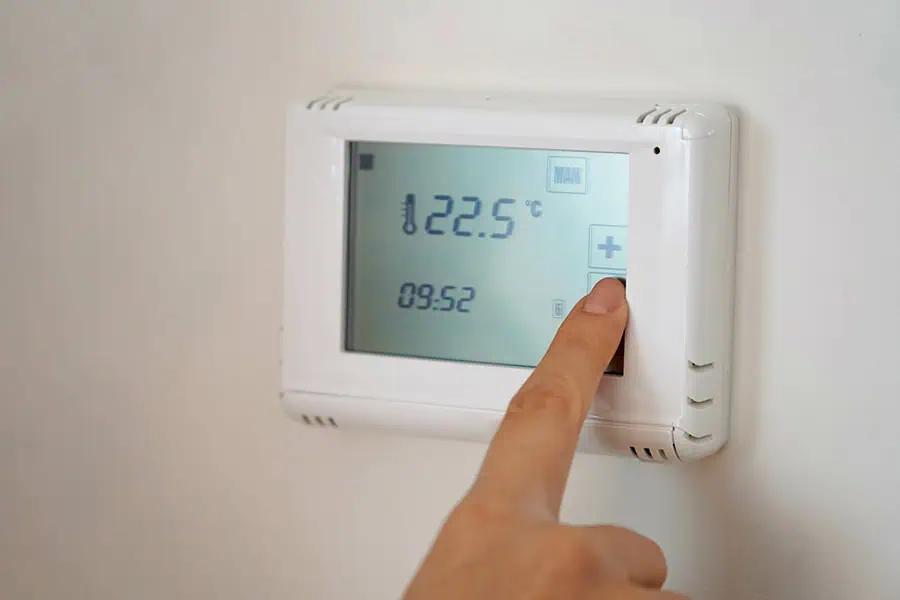
Checked the thermostat and relevant controls where the heating was not responding as expected.
 19
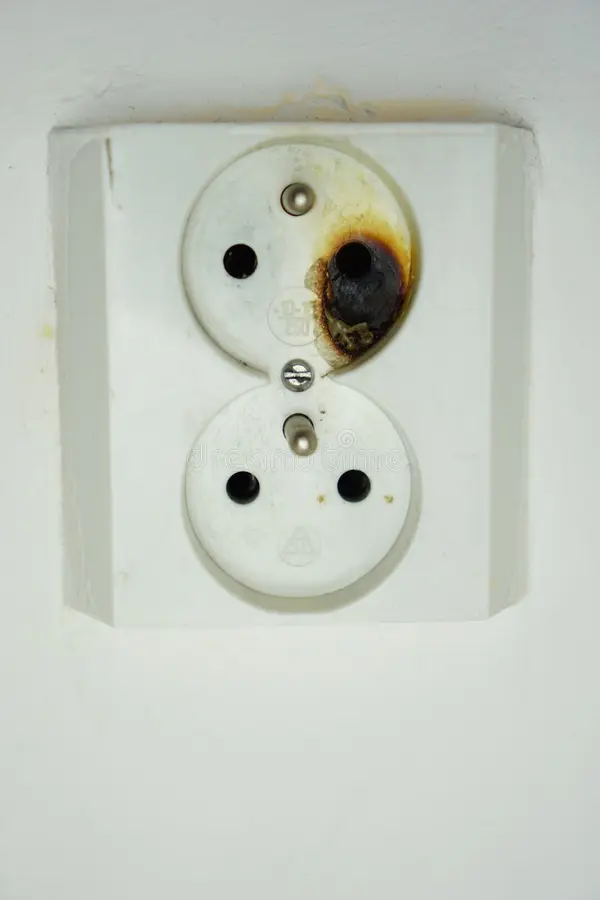
Inspected the reported socket fault and the surrounding installation to determine the safe repair required.
 20
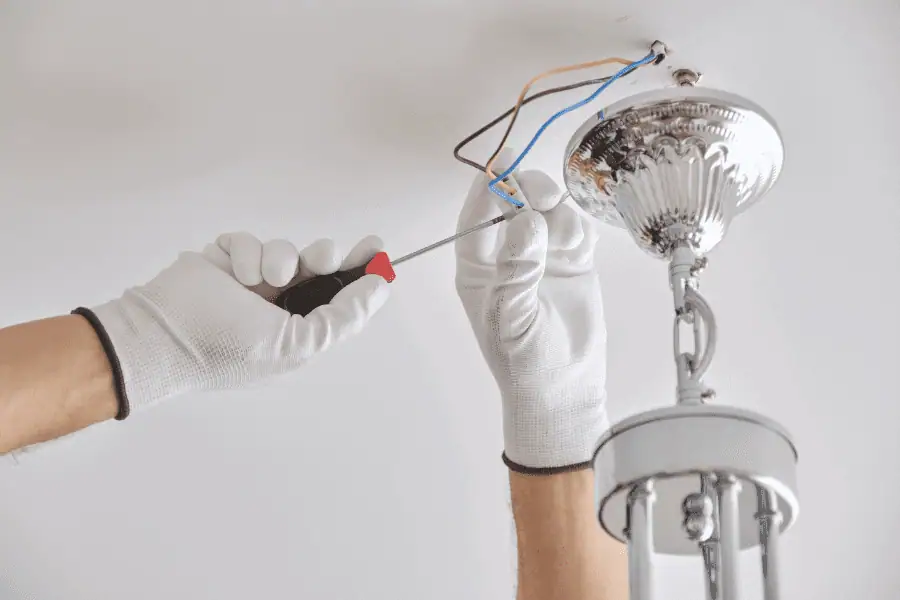
Checked the existing fitting and connection before replacing the light where suitable.
 21
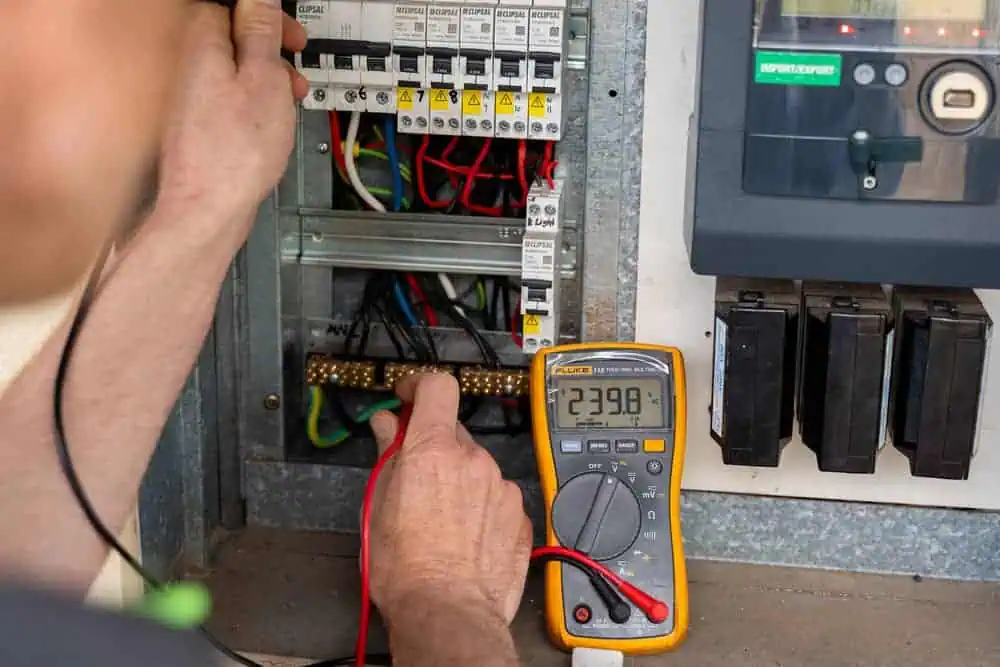
Investigated the reported loss of power and recurring trip to help locate the underlying electrical fault.
 22
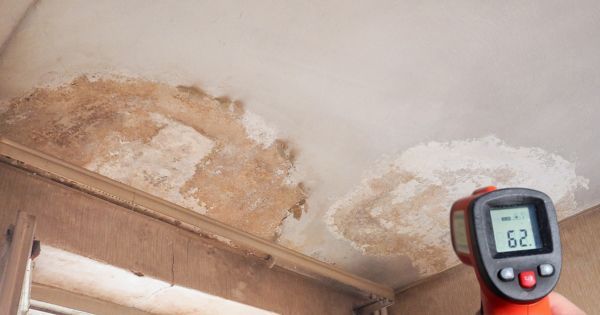
Assessed visible staining and the surrounding area after a leak, helping identify what needed attention next.
 23
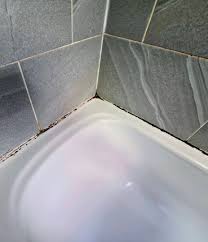
Removed deteriorated sealant where needed and renewed the seal around the affected bath or shower edge.
 24
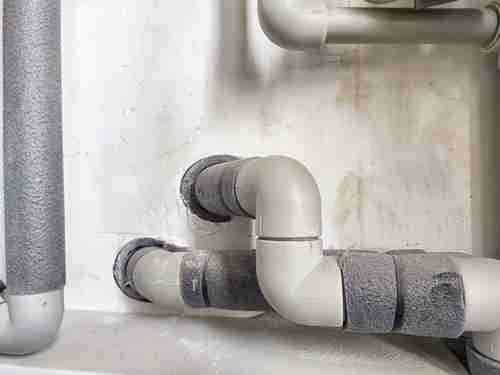
Checked the access needed to inspect concealed plumbing and locate the source of a reported issue.
Call to explain the problem, check availability and discuss the next steps.